How to build a Flask app with WSGI and Nginx
In this blog, we learn how to build a movie quote generator flask application with Nginx using Gunicorn.
Introduction
Gunicorn
Gunicorn (Green Unicorn) is a Python Web Server Gateway Interface (WSGI) HTTP server. It is broadly compatible with various web frameworks.
Nginx
Nginx is an open-source HTTP web server, mail proxy server, and reverse proxy and load balancer for HTTP, TCP, and UDP traffic. Nginx provides high performance and stability with a simple configuration.
Why use Gunicorn and Nginx with Flask?
Flask is just a web framework and not a web server. Thus to serve a flask application, a web server such as Gunicorn, Nginx or Apache is required to accept HTTP requests.
Now, the major advantage of using Nginx and Gunicorn together is that in addition to being a web server, Nginx can also proxy connections to Gunicorn which brings good performance benefits along with the capability to handle a large number of connections with very little CPU usage and memory cost.
Build the Flask app
1. Update and install local packages
First of all, update your local package index and then install the required packages as follows:
# Update the local package index
$ sudo apt-get update

# Install dependencies
$ sudo apt install python3-pip python3-dev python3-venv nginx
2. Create a virtual environment
Now, we create a virtual environment env for the Python project using venv module.
python3 -m venv env
We activate the environment env as follows:
source env/bin/activate
3. Install Python dependencies
Next, we install Flask and Gunicorn.
pip3 install flask gunicorn requests
4. Create the movie quotes app
We create a file app.py with the following content in it:
import requests
from flask import Flask, render_template
app = Flask(__name__)

@app.route('/')
def movieapp():
   url = "http://movie-quotes-2.herokuapp.com/api/v1/quotes/random"
   response = requests.get(url).json()

   return render_template("index.html", film=response['film'], quote=response['content'])

if __name__ == '__main__':
   app.run(debug=False, host='0.0.0.0')
Now, create a templates folder with index.html file in it to be used as a template for our flask application. Below is the sample index.html file which can be modified as per your requirements.
<html>

<head>
   <style type="text/css">
       body {
           background: black;
           color: white;
       }

       div.container {
           max-width: 500px;
           margin: 100px auto;
           border: 20px solid white;
           padding: 10px;
           text-align: center;
       }

       h2 {
           text-transform: uppercase;
       }
   </style>
</head>

<body>
   <div class="container">
       <h2>Quote of the day</h2>
       <hr>
       <h3>FILM: </h3><h4> {{ film }} </h4>
       <h3>QUOTE: </h3><h4> {{ quote }} </h4>
   </div>
</body>

</html>
5.Testing the app
Before moving ahead, we test the flask app and make sure everything is working fine.
(env) $ python3 app.py
* Serving Flask app "app" (lazy loading)
* Environment: production
  WARNING: This is a development server. Do not use it in a production deployment.
  Use a production WSGI server instead.
* Debug mode: off
* Running on http://0.0.0.0:5000/ (Press CTRL+C to quit)
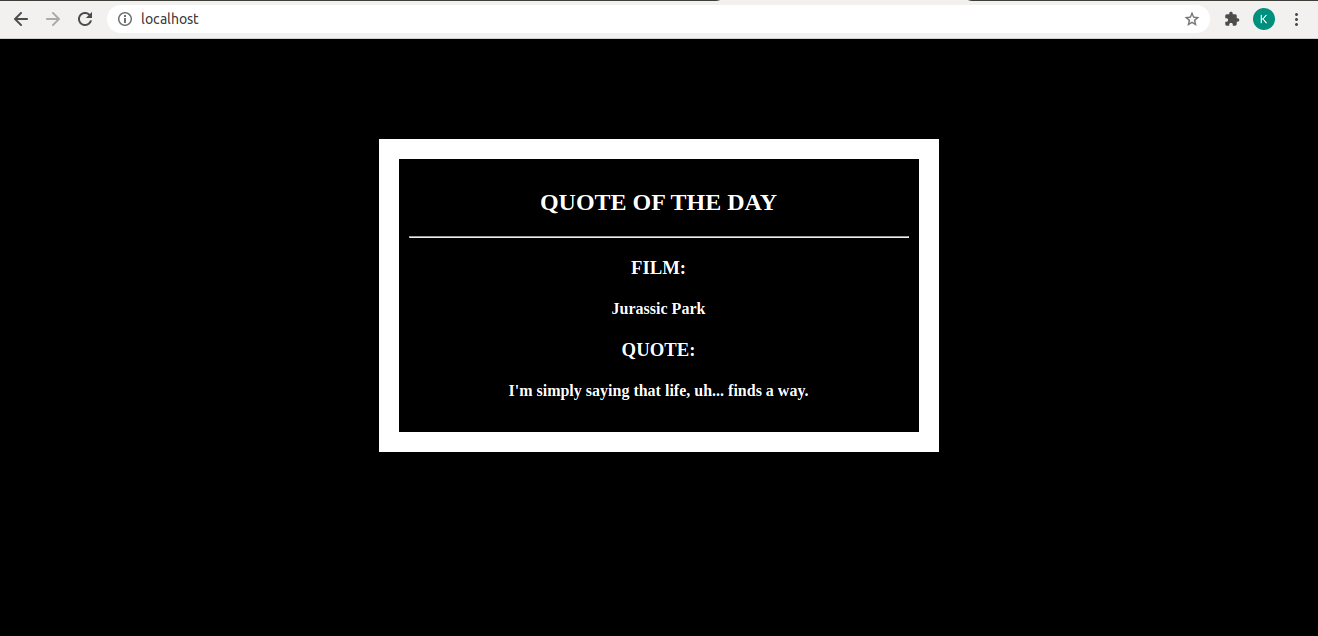
The result should be visible if you visit http://localhost:5000. When you are finished press Ctrl+C in your terminal window to exit the application server.
Add WSGI to the app
1. Create WSGI entry point
We create a Python file for WSGI that will serve as the entry point for our application. This file defines the behaviour of the Gunicorn server with our application.
Create wsgi.py file in the same directory as app.py, import the Flask instance from our application and run it as follows:
from app import app

if __name__ == '__main__':
   app.run()
2. Test Gunicorn’s ability
We now test the Gunicorn’s ability to serve the project by binding an address to the WSGI file we just created above.
Note: The WSGI file name is written without .py extension.
So the syntax is gunicorn <WSGI_module>:<callable_name>.
(env) $ gunicorn --bind 0.0.0.0:5000 wsgi:app
[2020-11-10 17:09:57 +0530] [725] [INFO] Starting gunicorn 20.0.4
[2020-11-10 17:09:57 +0530] [725] [INFO] Listening at: http://0.0.0.0:5000 (725)
[2020-11-10 17:09:57 +0530] [725] [INFO] Using worker: sync
[2020-11-10 17:09:57 +0530] [728] [INFO] Booting worker with pid: 728
When you visit http://localhost:5000, you should see the same output as seen while running the flask application. However, this time via Gunicorn’s endpoint.
When you are finished press Ctrl+C in your terminal window to exit the application server.
3. Create WSGI socket
The communication between Gunicorn and Nginx takes place via a socket. Thus, let’s create a Unix socket file in the same directory as app.py as follows:
(env) $ gunicorn --workers 3 --bind unix:/home/movieapp/app.sock -m 777 wsgi:app
[2020-11-10 18:02:36 +0530] [2854] [INFO] Starting gunicorn 20.0.4
[2020-11-10 18:02:36 +0530] [2854] [INFO] Listening at: unix:/home/movieapp/app.sock (2854)
[2020-11-10 18:02:36 +0530] [2854] [INFO] Using worker: sync
[2020-11-10 18:02:36 +0530] [2857] [INFO] Booting worker with pid: 2857
[2020-11-10 18:02:36 +0530] [2858] [INFO] Booting worker with pid: 2858
[2020-11-10 18:02:36 +0530] [2859] [INFO] Booting worker with pid: 2859
By adding --workers 3 we tell Gunicorn to start 3 worker processes. We bund it to the WSGI entry point file by providing the path to the project directory. We also set an unmask value while the socket file is being created so that there are no restrictions while accessing it.
If you notice, an app.sock file will be automatically created in the project folder upon execution of the above command.
Configure Nginx
1. Create an Nginx configuration file
Gunicorn server is now up and running and it waits for requests to flow in from the socket file in the project directory. Now, we need to configure Nginx to pass web requests to that socket by making some small additions to its configuration file.
Let the Gunicorn server run, open a new terminal and execute ls /etc/nginx/ command. In the output you would get a list Nginx configuration along with two important directories:
sites-available: contains configuration files for all of your possible applications.sites-enabled: contains links to the configuration files that Nginx will actually read and run.
Now, create a new server block configuration file app in /etc/nginx/sites-available/ directory.
(env) $ nano /etc/nginx/sites-available/app
Next, we add the following code into the configuration file and save it.
server {
   listen 80;

   location / {
       include proxy_params;
       proxy_pass http://unix:/home/movieapp/app.sock;
   }
}
Here, we open up a server block and define it to listen for requests on port 80.
We also add a location block that matches every request. In this block, we include proxy_params file that specifies some general proxy parameters and passes the requests to the socket we defined using the proxy_pass directive.
2. Enable Nginx server block
We need to link the file to the sites-enabled directory to enable the Nginx server block. The syntax for linking the file is as follows:
ln -s <source_file> <destination_file>
Actual code will look like:
ln -s /etc/nginx/sites-available/app /etc/nginx/sites-enabled/
3. Check for errors in Nginx configuration file
we can check syntax errors in Nginx configuration file by executing the nginx -t command as follows:
(env) $ nginx -t
nginx: the configuration file /etc/nginx/nginx.conf syntax is ok
nginx: configuration file /etc/nginx/nginx.conf test is successful
If there are no errors, we restart the Nginx process to read our new config file.
systemctl restart nginx
4. Adjust firewall
The final step we need to take care of is adjusting the firewall to allow access to the Nginx server:
(env) $ sudo ufw allow 'Nginx Full'
Skipping adding existing rule
Skipping adding existing rule (v6)
You can visit http://localhost:80 to view your running flask application.