
Configure SendGrid with Outline for email delivery
Self Host a Wiki or Knowledge Base for Your Team walks us through the process of self-hosting the Outline wiki on our laptop or server easily.
The outline also offers various other features along with the feature of login via email and sending invites via email. But in order to do that we require an SMTP (Simple Mail Transfer Protocol) Server which takes care of the whole email delivery process for us.
Now the standard SMTP protocol comes with no security features making it vulnerable to hijacking and other forms of attacks. Thus, to tackle this there exist two majorly used cryptographic protocols: SSL (Secure Socket Layer) and TLS (Transport Layer Security).
We will use SSL and discuss the reason behind it in a while.
SSL vs TLS
First of all, let’s understand the difference between SSL and TLS.
So SSL was originally developed in 1995 and was popularly implemented in email clients. TLS is a successor of SSL which was introduced four years later and it offered a more reliable security profile than SSL.
SSL has since been deprecated, however is still widely used. As a matter of fact, both names are used interchangeably nowadays.
Why do we use SSL?
Coming back to the point that why do we use SSL, first is that the Outline is configured to use SSL when it is running in production mode.
Second, our custom domain name qure.ai being set up on Microsoft 365. Mircosoft 365 has support for TLS or StartTLS protocols as mentioned here but unfortunately does not support SSL protocol which is the preferred protocol in the Outline.
One possible solution to this problem is to add legacy TLS support in the mailer.js configuration in the Outline. This may seem easy but turns into a hectic task every time there is a version update.
Our final resort is to instead go ahead with SSL and a mailing service like Gmail which supports SSL.
SendGrid
Since we do not have our own SMTP server for email delivery, we use SendGrid’s free SMTP Service.
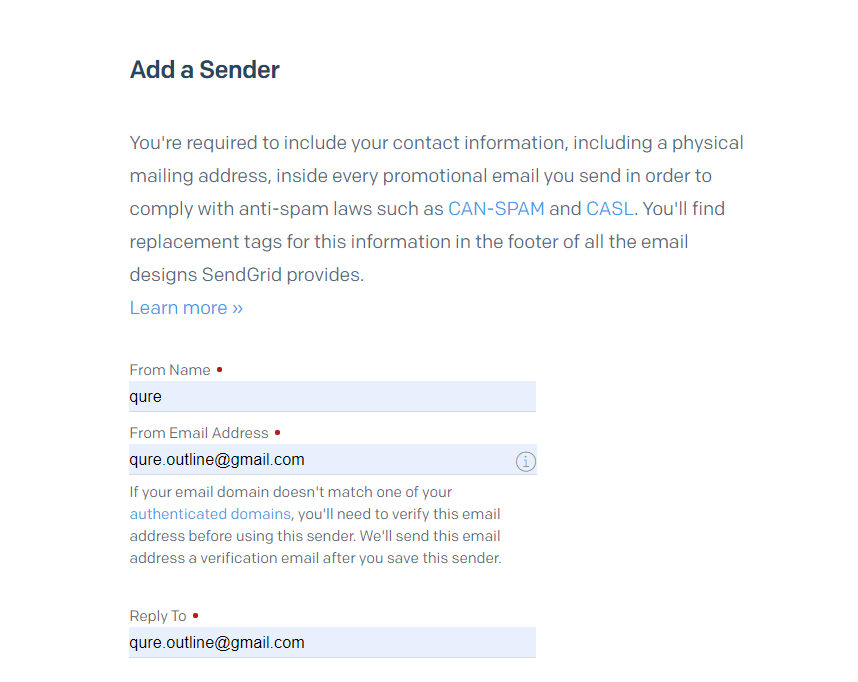
To get started, sign up and log in at SendGrid to create a new Sender from Sender Management as follows:

Once a sender is created and the email has been verified, navigate to Setup Guide / Integrate where we get two options as follows:
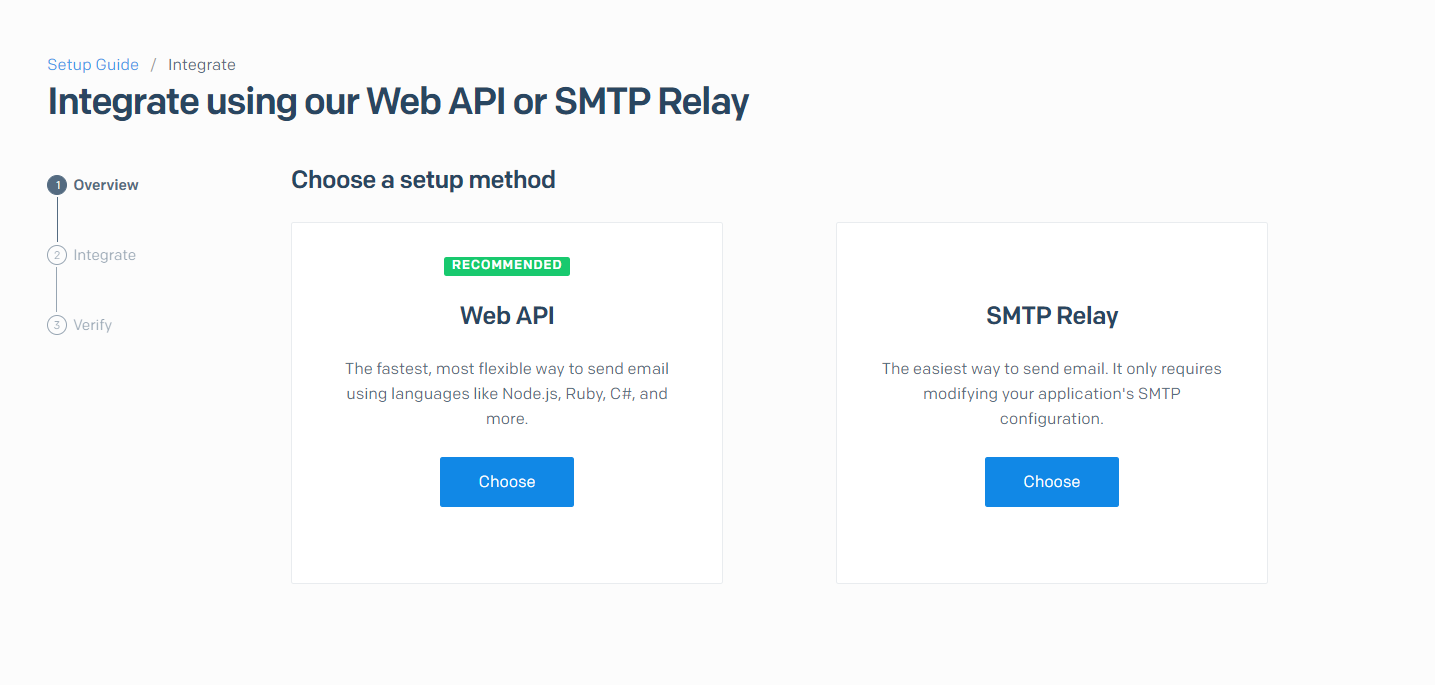
Since we need an SMTP server we choose SMTP Relay. SendGrid can also be configured for a variety of Web Applications.
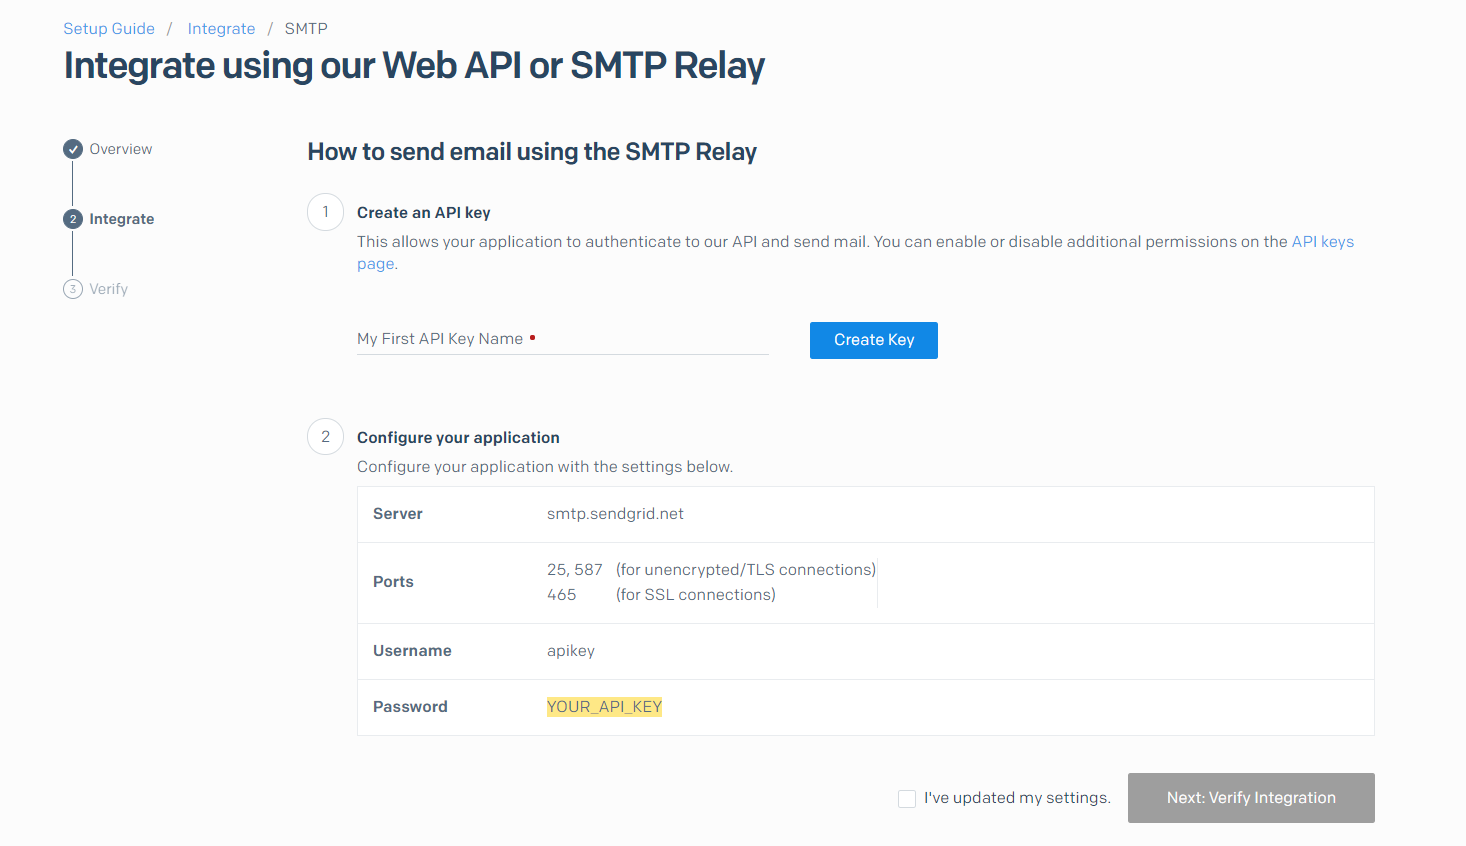
Next, we add an API Key Name and create an API KEY or a Password for SMTP Server.
Outline env
On getting an API Key we open env.outline file of our project, move to the Emails configuration section, and add SendGrid’s SMTP configuration to the section.
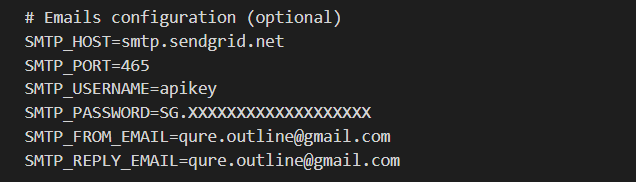
Here, we use the port 465 for the SSL connection. Also, make sure to use your own SMTP password generated by SendGrid.
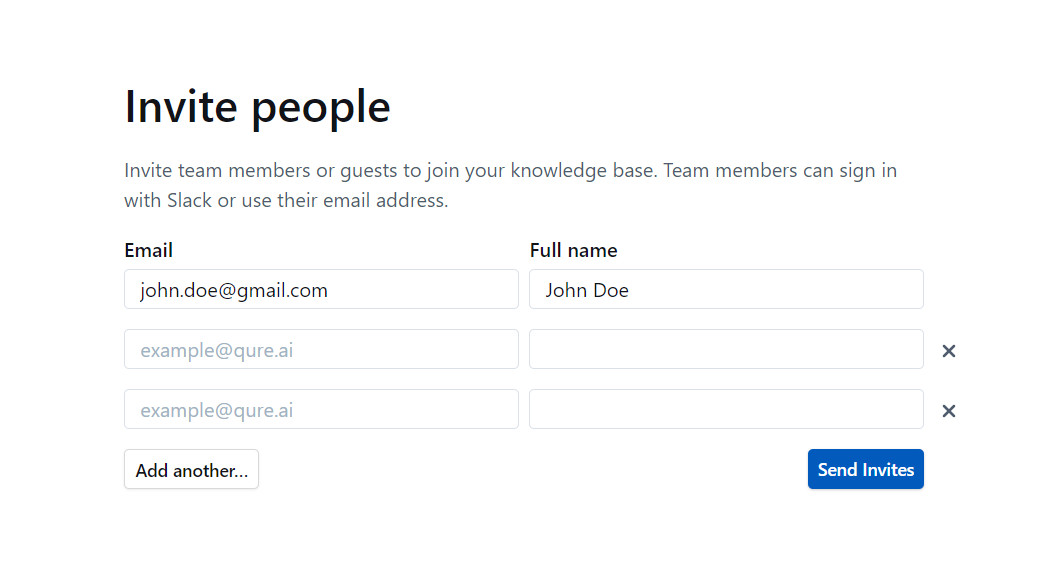
Once done, we send an invite from the Outline and verify the integration in SendGrid to make sure everything is working as expected.
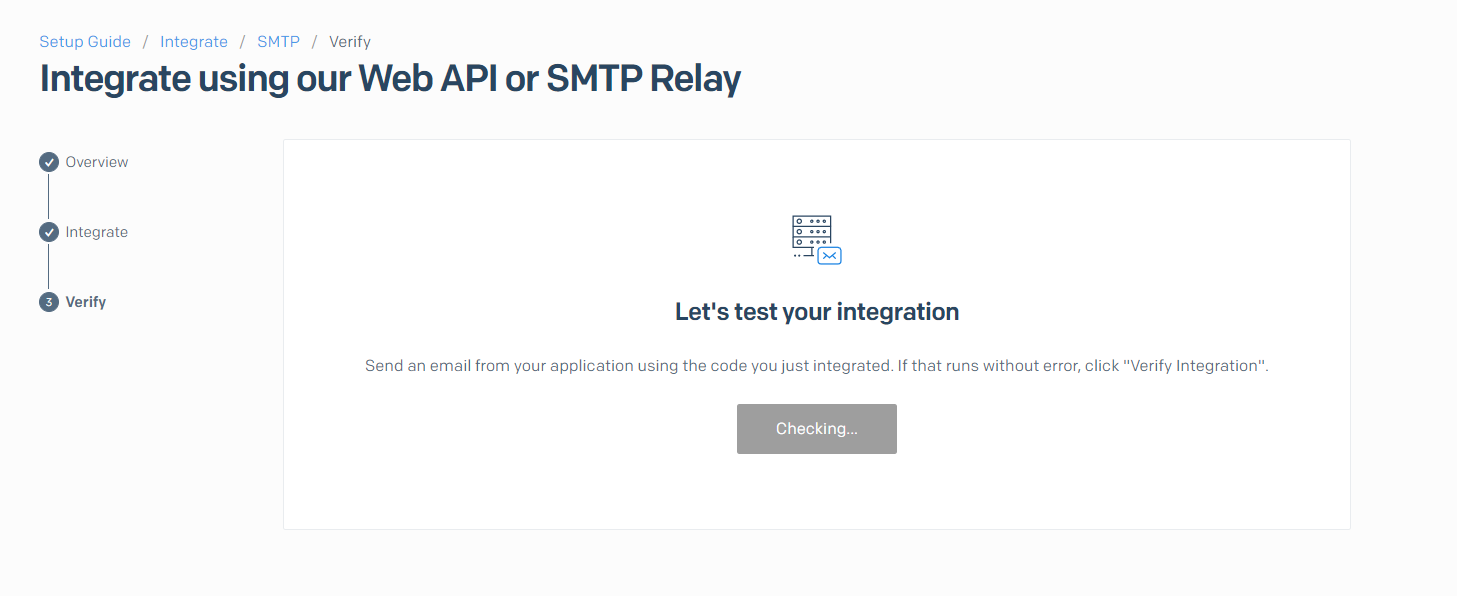
Once the integration is successfully verified, our SMTP Server is ready for use.